Use of these tools were quite limited for the purposes of the project overall – the team improvised a different approach to print the model of the head. After scanning (refer to the Development Section) Blender was used (smoothing the top of the head and cutting out the eyes), and a 3D Printer printed the head out of Polylactic Acid.
| Item | Price |
|---|---|
| Head Model | £18.00 |
| Hinges | £5.00 |
| Mini Breadboard and kit(estimated) | £10.00 |
| MP3 module | £6.00 |
| Speakers(estimated) | £10.00 |
| Halfords Primer and Camouflage paint(estimated) | £20.00 |
| Total | £69.00 |
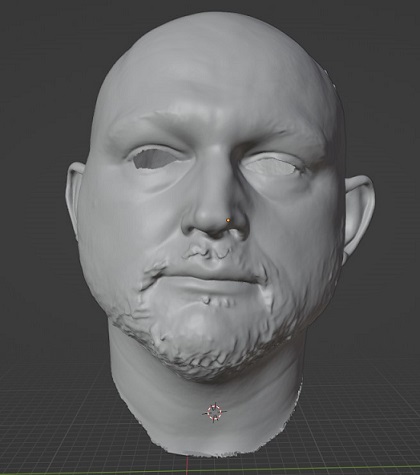
Figure 39 3D Scanned head edited in Blender(screenshot taken by Mark Warren)
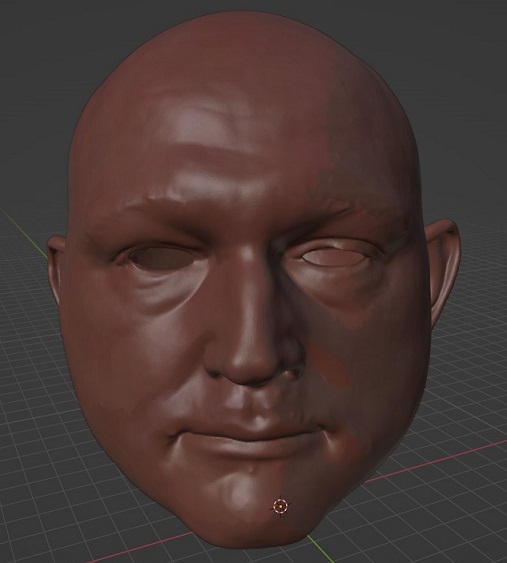
Figure 40 3D Scanned and coloured and smoothed head edited in Blender(screenshot taken by Mark Warren)
A modified file in Blender was used for the purposes of the head artefact (refer to figure 33). An alternative blender file was considered for 3D print with colour but was not used due to agreements of using primer instead and budget concerns (refer to figure 34). To begin production, a 3D Printer "Ender 3" was used for the project. Costing £210.00, the printer could print out the skin accurately, we smoothed over the hair with use of Blender Software to give the head a smoother look. Hanging areas were required to support the structure of the head whilst printing (later removed). The print was of a satisfactory nature suitable for prototyping (refer to figure 35 and 36).
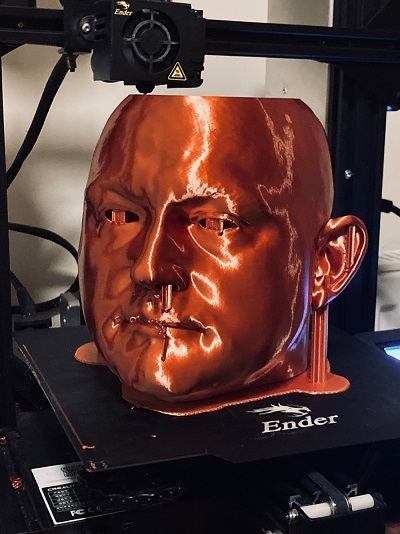
Figure 41 head printed using Ender 3 Printer(photograph provided by Michael Alcock)
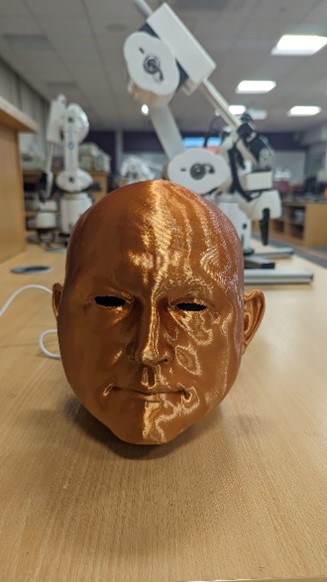
Figure 42 3D printout of head result(photograph taken by Mark Warren)
Figure 43 STL viewer of Hinge Assembly for stand and arm mechanism. Print in place hinge (STL file provided by Michael Alcock).
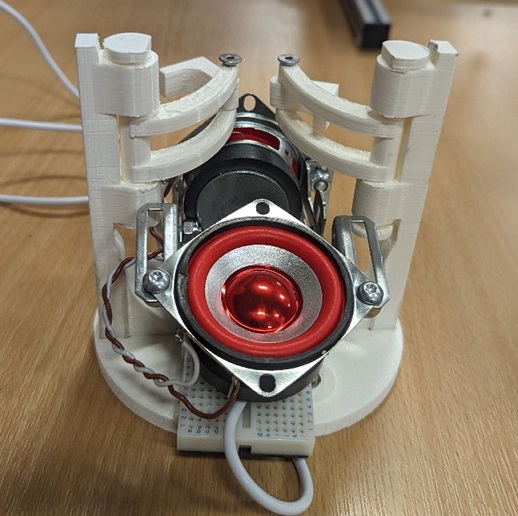
Figure 44 Speaker System with mini breadboard and MP3 module(internally plays music)(photograph taken by Mark Warren)
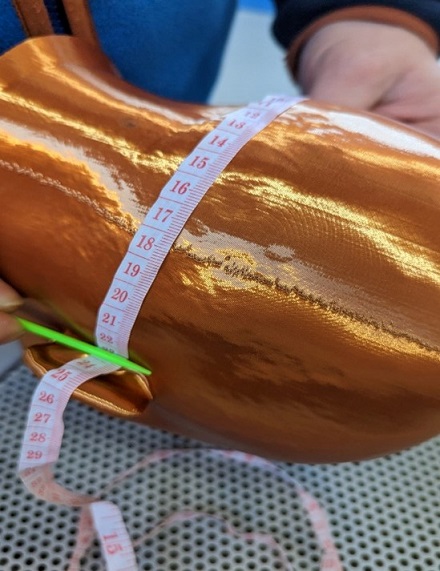
Figure 45 Tape measurements of distance between ears (photograph taken by Mark Warren)
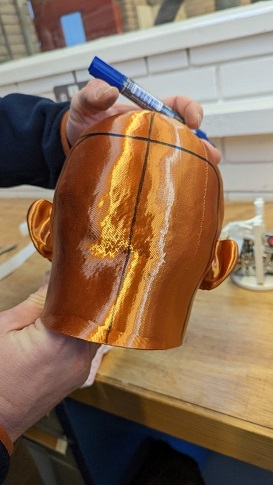
Figure 46 Portion mark up to find center of head for hinges (photograph taken by Mark Warren)
This allowed us to have a durable structure without losing detail. We cut apart the back of the head (with use of a dremmel) and sanded it down (with use of 80/120 grit sandpaper) to improve the overall look of the head after applying Primer.
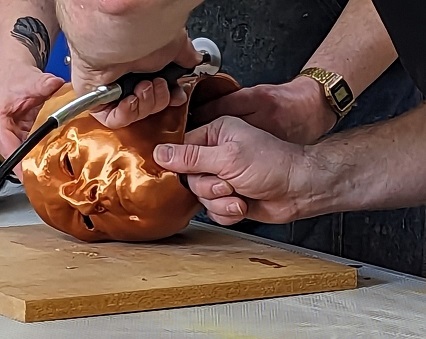
Figure 47 Cutting the head up (photograph by Mark Warren)
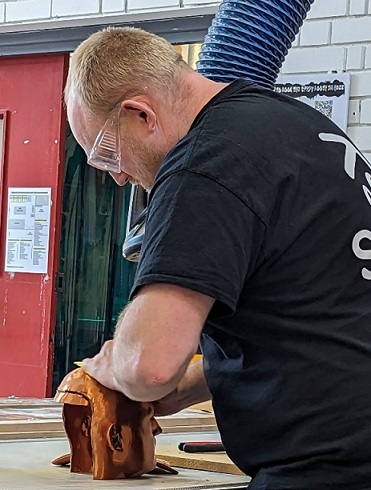
Figure 48 Subject is sanding his own head (photograph by Mark Warren)
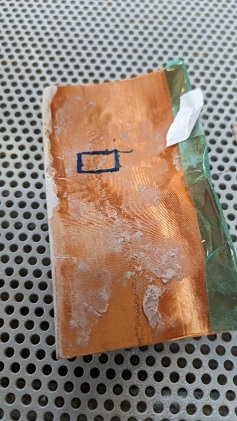
Figure 49 Marked area for sticking to hinge (photograph by Mark Warren)
Body Filler Upol easy was used to repair gaps caused by the dremmel (provided by Staffordshire University). This mixture when applied will set to gaps in the head after roughly 15 minutes.
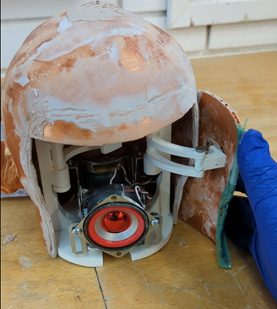
Figure 50 Hinge attached using Upol Easy Body Filler (photograph taken by Mark Warren)
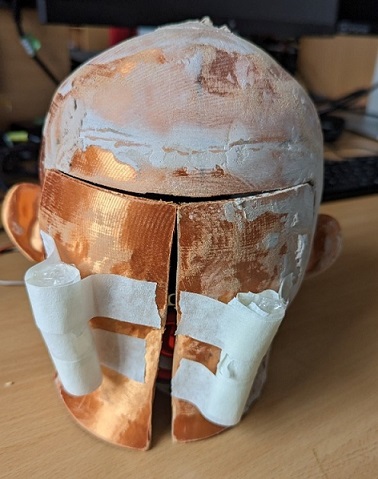
Figure 51 Rejected Concept for Door Handles (photograph taken by Mark Warren)
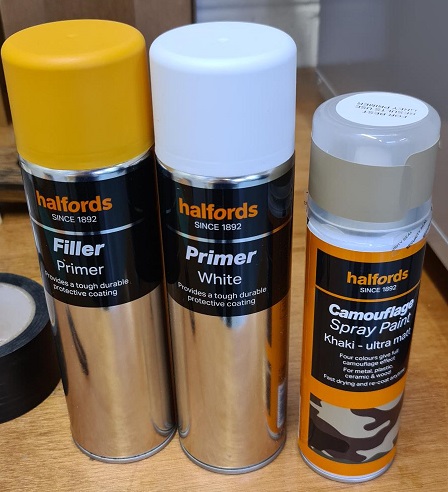
Figure 52 Primer and paint used for filler(photograph taken by Michael Alcock)
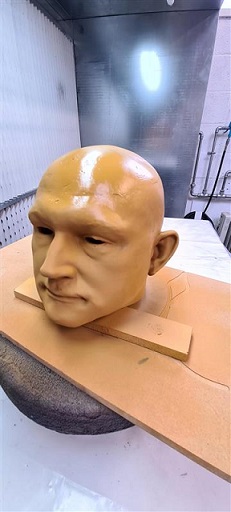
Figure 53 Primer Filler layer applied to head (photograph taken by Michael Alcock)
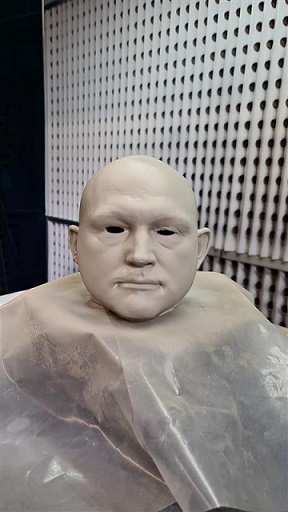
Figure 54 White coat primer/Camouflage paint layer applied to head (photograph taken by Michael Alcock)
Filler Primer was first applied to the head model to fill in gaps (e.g. adhesion layers), multiple layers were applied. A ventilated spray booth was used for the safety spraying indoors (refer to figure 53). White coat primer provided a uniformal colouring to regulate final colour and Camouflage paint was used on top, multiple layers were applied. A ventilated spray booth was used for the safety spraying indoors (refer to figure 54).
The Hinges were 3d printed out of Polylactic Acid and this was modelled making use of Blender and Fusion 360 so that the back of the head could be opened so that there was access to the speaker inside.
Please now refer to the conclusion section for evaluated results of the project.